
Bring Your Own Database (BYOD) for Dynamics 365 Finance & Operations: Part 2


This is part two of a three-part series, where in part one I talked about the Entity store and the idea behind BYOD. Now, in this second part, I will show how to set up BYOD, and in the third part I will show how to search the system logs for error messages as a result of BYOD runs.
How-to set up BYOD
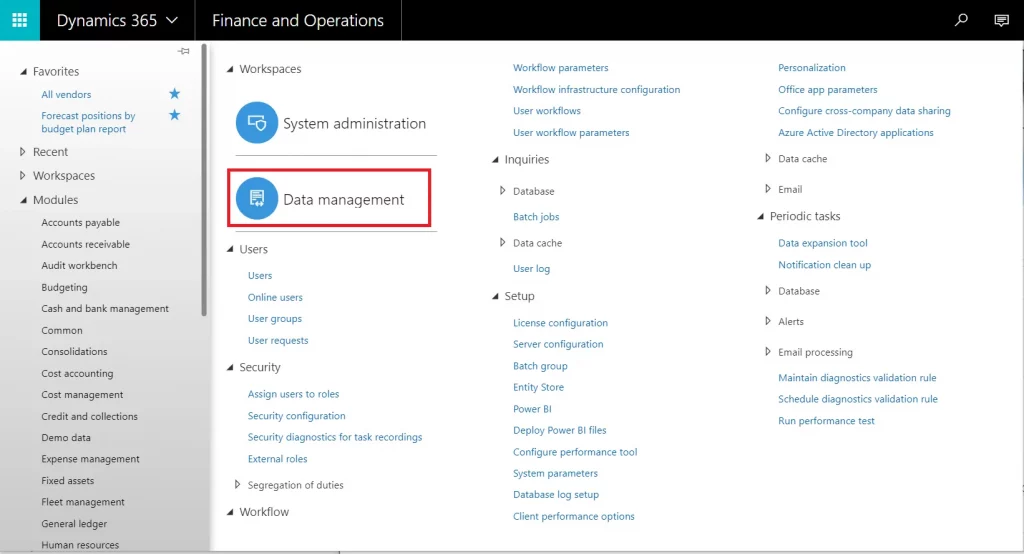
BYOD uses the Export services of Dynamics 365 for Finance and Operations (D365 F&O), found in the “Modules > System Administration > Data Management” workspace of the environment.
The first step is to Configure the entities to export to your external database. I will use an Azure SQL database as the destination for the BYOD setup. This step involves defining a connection string to the Azure SQL database and selecting the entities to “publish”. Publish here means that the “create table” command is executed on the Azure SQL database.
Step 2 is to Export the data, where you will have the option to set up recurring exports on a schedule.
Let’s begin. We will walk through the steps to set up BYOD.
Step 1: set up configuration to Azure SQL DB
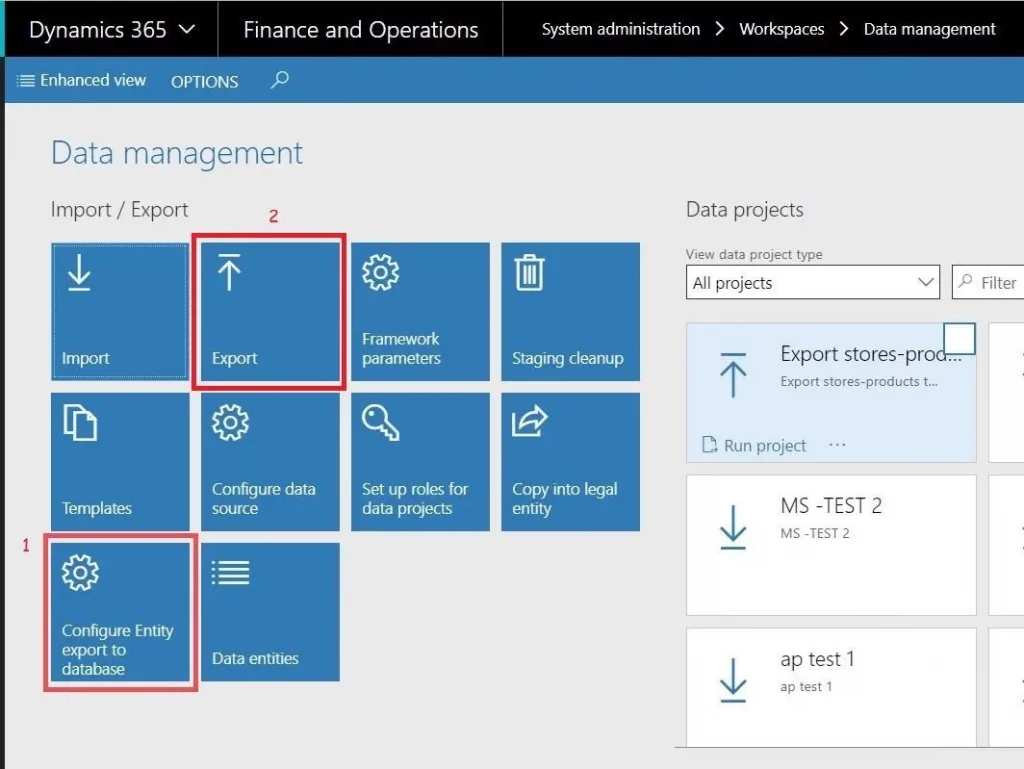
Click “Modules > System Administration > Data Management”:
Click “Configure Entity export to database”:

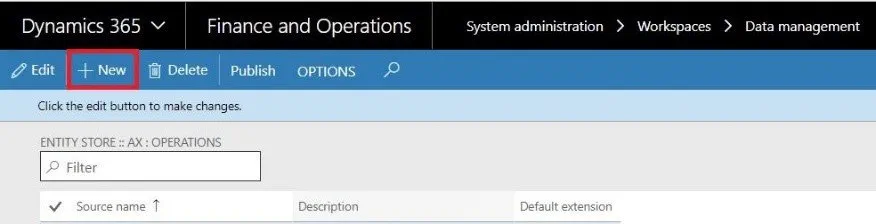
Click “New” to define a connection string to the Azure SQL database:
Enter a Source Name and Description for this configuration.
The Type should be defaulted to “Azure SQL DB”.
Enter a Connection string and set the value of “Create clustered column store indexes” to True only if your Azure SQL database is a Premium tier that utilizes column store indexes, otherwise the creation of this configuration will fail. Click Validate to ensure you can connect to the Azure SQL database from within D365FO.
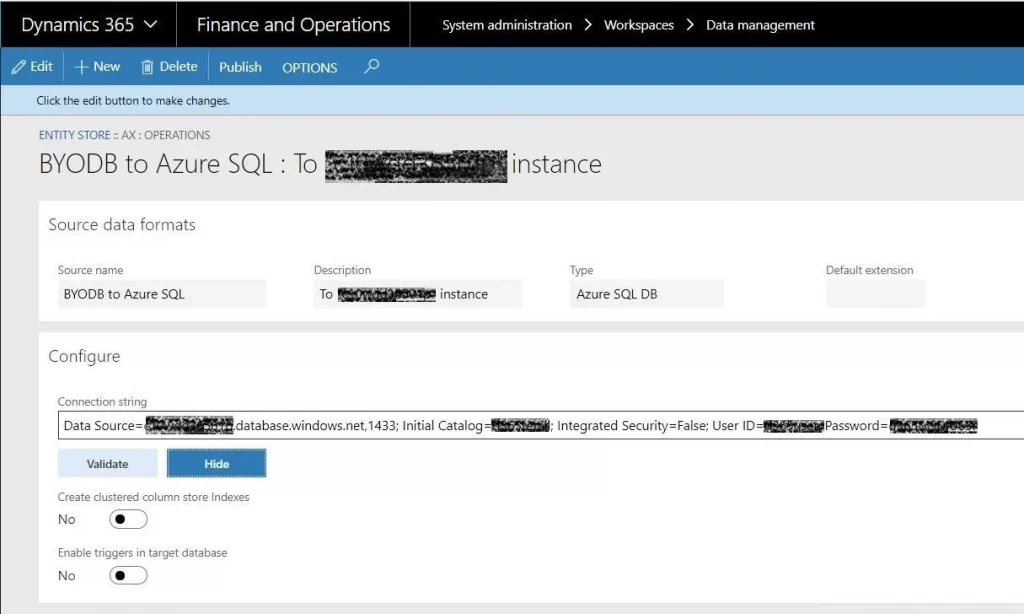
Note the format of the Connection string must be as follows (we are using a local SQL account, hence the value of “False” for Integrated Security followed by a User ID and Password):
“Data Source=xxxxxxxx.database.windows.net,1433; Initial Catalog=xxxxxx; Integrated Security=False; User ID=xxxxxxxx; Password=xxxxxxxxxx”
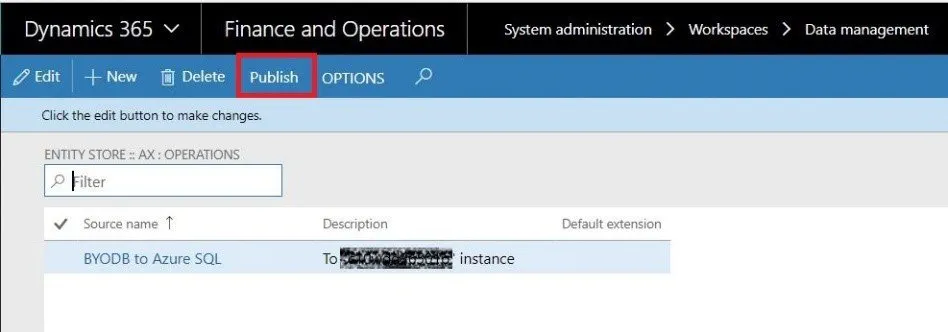
Once the connection string is validated, you can Hide it (if you prefer). Now you will need to Publish the entities. Click “Publish”.
Note: you can exit the connection string workspace, then highlight the connection, and click “Publish” there, as shown:
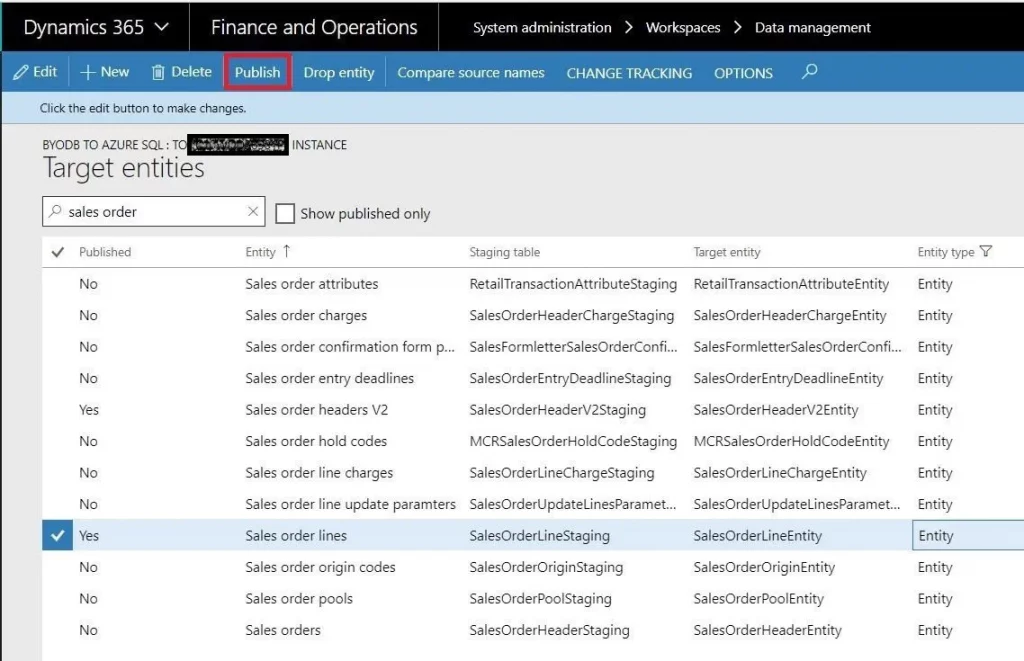
Both ways will take you to a workspace titled “Target entities”, where you can scroll through all entities or search for specific ones, highlighting the entities you want to export and clicking “Publish” again.
There is the option to set CHANGE TRACKING for each entity. If you do decide to set this feature, you will be able to export incrementally. If you do not set this, then you can only do a full export. This feature must be set here and for each entity – exporting the data to those entities will be shown in step 2 below.
As mentioned earlier, publish here means that the “create table” command is executed on the Azure SQL database.
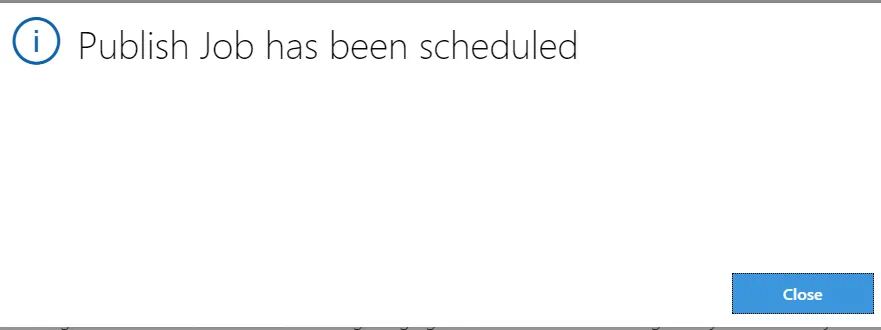
You will see a popup that indicates your job has been published:
Next, you will receive a success notification if things went well, or you will see errors/warnings in the notifications that will need your attention before you can proceed.
At this point, if all went well, you should see the entity table(s) in the Azure SQL database. The next step is to export the data into those tables.
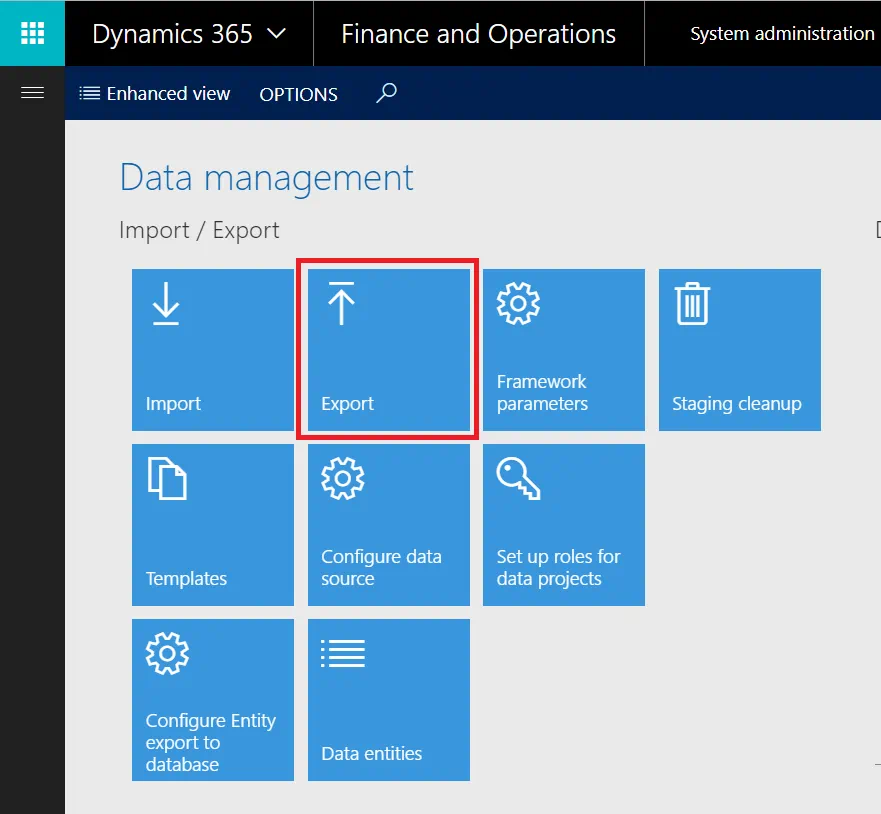
Step 2: export data to Azure SQL DB
To export data, you will need to return to the “Modules > System Administration > Data Management” workspace and click “Export”:
You will now need to define an export job. Enter a Name, choose a Target data format (the one created in step 1), and select one Entity name at a time (only choose those entities Published in step 1, one at a time), as shown:
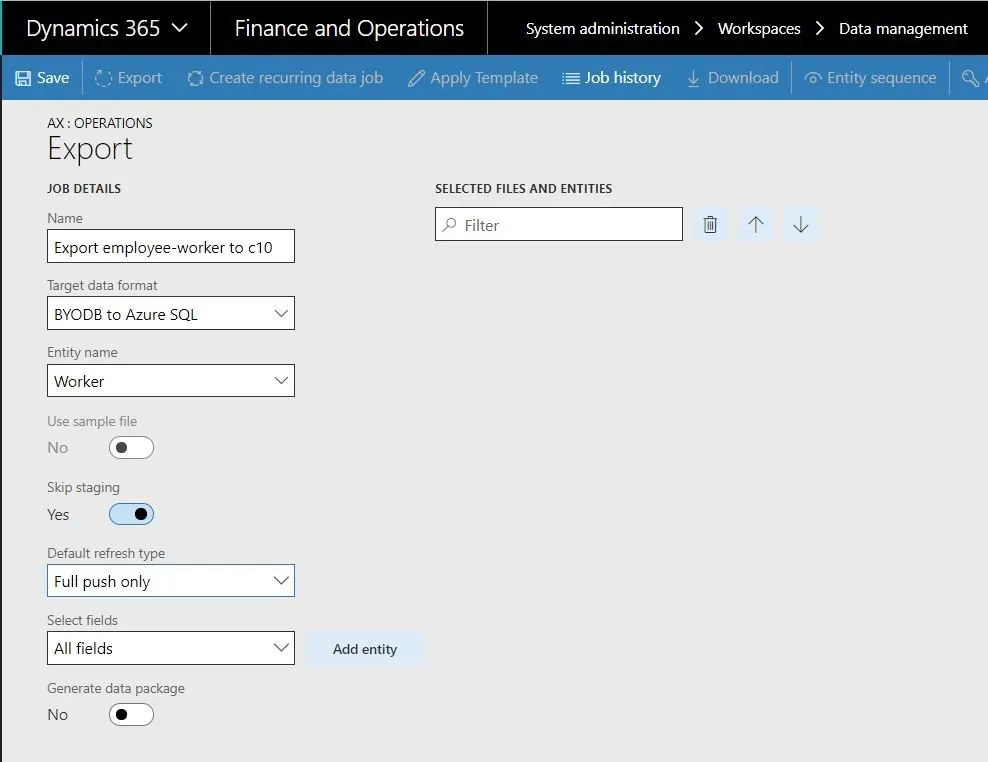
Note that you also have the option to choose a Default refresh type (“Incremental” or “Full push only”). “Incremental” refresh type should only be chosen if we turned on Change Tracking in step 1. Otherwise, select “Full push only”.
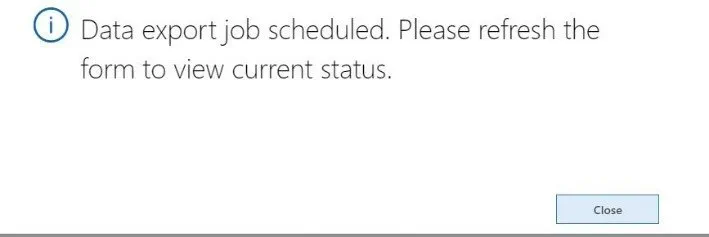
Click Add entity, and you will see the following message:

After which you will see the entity listed on the right side, under “SELECTED FILES AND ENTITIES”, as follows:
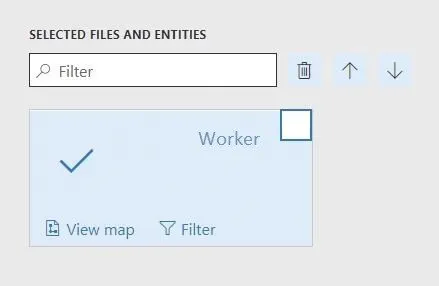
Repeat this process to add as many entities to this export job as you’d like (as long as those entities were published in step 1). Finally, click “Save” in the top left and you will save this export job, as well as run it:
You will be able to monitor the progress of the job run and see data being exported to the Azure SQL database:
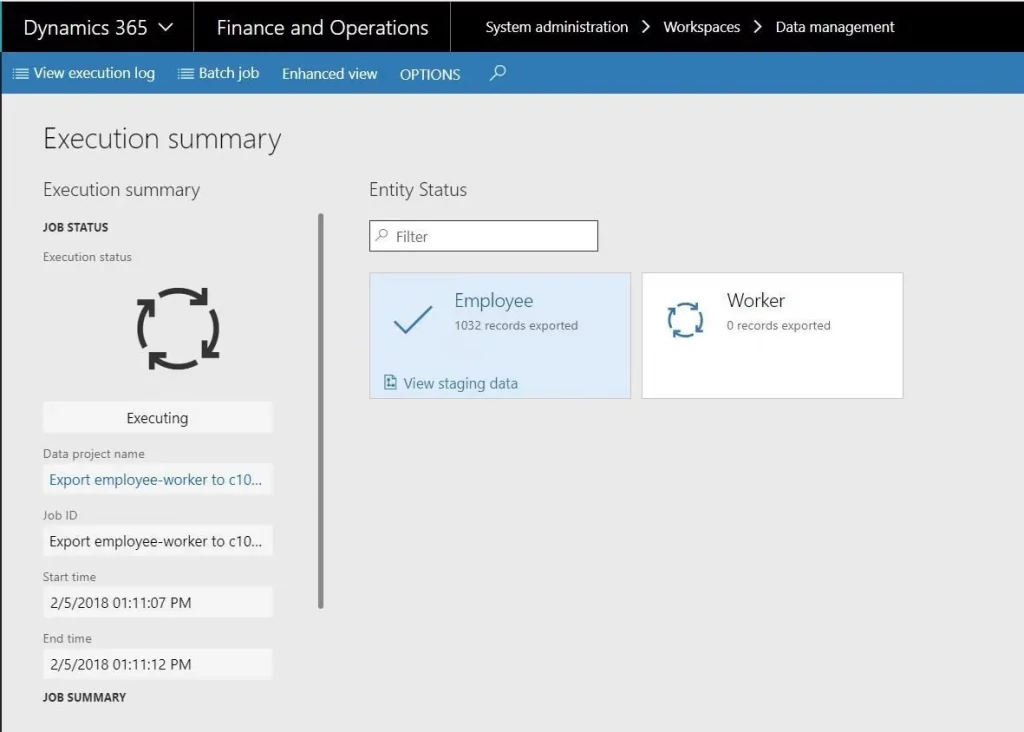
Once completed, you will see the Execution summary for the job, as shown:
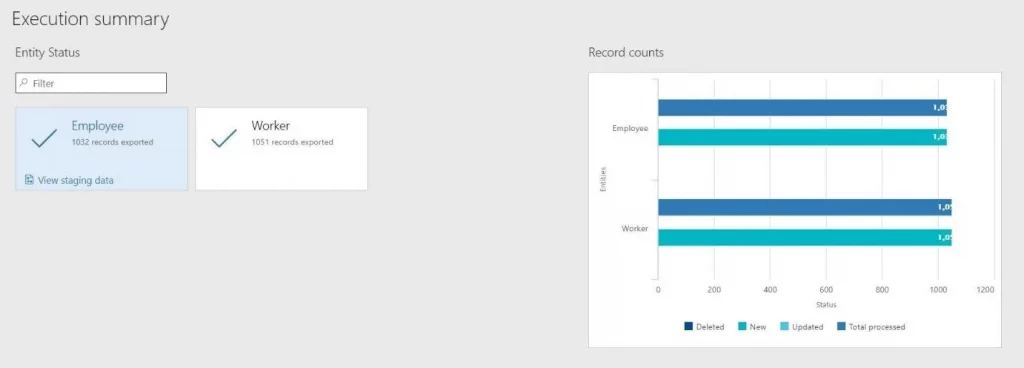
And a notification of success will also appear:

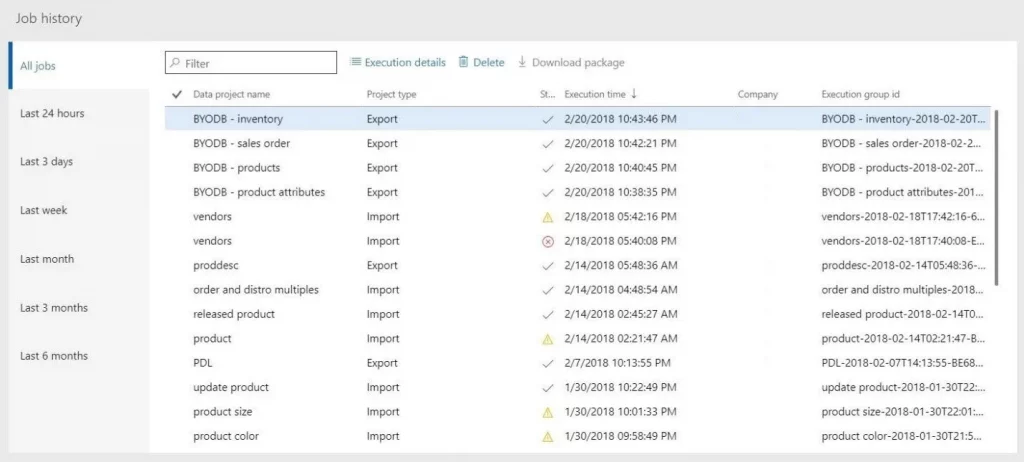
Finally, back in the “Modules > System Administration > Data Management” workspace, you will see your newly created and run job appear under “Data projects” and “Job history”:

Congratulations, you have now set up BYOD in D365 F&O. A few words of advice are in order:
- Understanding which entities are to be used for BYOD is key. This means understanding where data within D365 F&O resides is helpful.
- The data exported to Azure SQL database should be intended for integration with other data before being used in the reporting effort. If it is not, then an alternative to BYOD is a direct read of the entities via Power BI using OData connectivity.
- The integrated data should be modeled in a semantic layer for performance gains, amongst other advantages. As mentioned in part 1 of this 3-part blog series, perhaps I will talk about the key features of a modern enterprise BI architecture in subsequent blogs, in which I’ll talk about why we need a semantic layer.